Archive a Course
Archiving a course creates a permanent record of a course including all the content and user interactions available at the time the archive is created.
- Access the course you would like to archive.
- From the Control Panel, select Packages and Utilities > Export/Archive Course.
Note: The Export Package option creates a package of course content that can later be imported into another course.
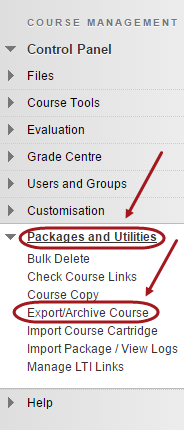
- Click on the Archive Course button.
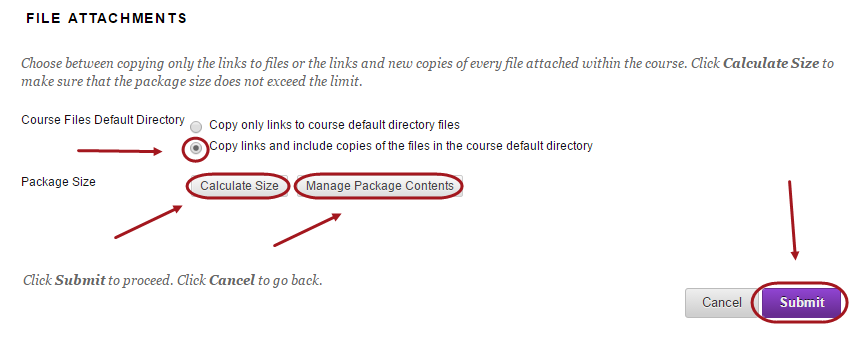
- Optionally, check the Include Grade Centre History checkbox.

- Select Course Files Default Directory options:
- Copy only links to course default directory files.
- Copy links and include copies of the files in the course default directory.
- Select Package Size options:
- Click on the Calculate Size button to view the package size.
- Click on the Manage Package Contents button, if applicable to remove any files.
- Click on the Submit button.
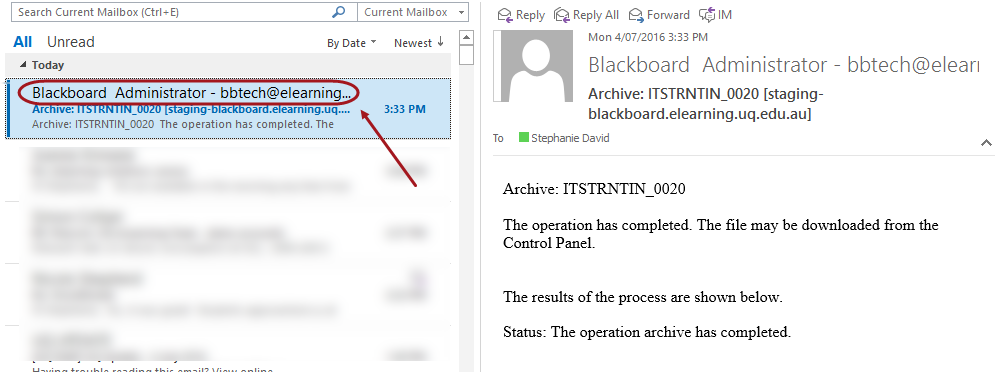
- You will receive a confirmation email that an archive has been created.
Downloading the Course Package
- From the Control Panel, select Packages and Utilities > Export/Archive Course.
- Click on the required archive zip file.
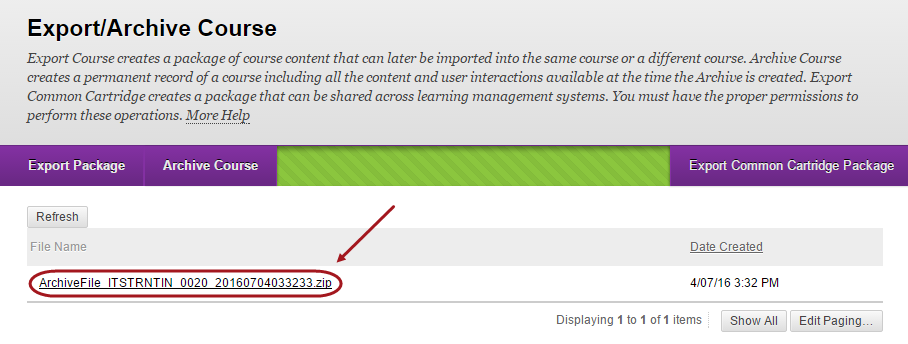
- Download the package to your local computer or faculty storage area.
Note: You will not be able to unzip this file and extract content. The only way you can access contents is by uploading the zip file into a Learn.UQ course using the Packages and Utilities > Import Package option.